Friday, July 20, 2007

Sea Breeze

This camera tossing set was done on the day I first started close up LCD tossing with that Midnight Rainbow set - which also explains why these are also somewhat out of focus.

Resolution: 2592 x 1944 | Subject: LCD screen

Sea Breeze 1 by Jonathan Vo Sea Breeze 2 by Jonathan Vo Sea Breeze 3 by Jonathan Vo Sea Breeze 5 by Jonathan Vo Sea Breeze 10 by Jonathan Vo Sea Breeze 12 by Jonathan Vo Sea Breeze 6 by Jonathan Vo Sea Breeze 7 by Jonathan Vo Sea Breeze 8 by Jonathan Vo Sea Breeze 9 by Jonathan Vo Sea Breeze 4 by Jonathan Vo Sea Breeze 11 by Jonathan Vo

Sunday, July 15, 2007

Pax Viridis

Throughout the course of your camera tossing hobby/activity, you may find that you're stuck with the usual black background, and occasionally a little bit of dark blue or purple. So here's an easy solution. Remember that little "negative" setting in your camera that was never really useful for anything? Well now it will be. You'll get a new refreshing outlook on camera tossing as white and other new colors come into play under this setting. Here's an example with my recent Pax Otium camera tossing set:

Pax Viridis 1 by Jonathan Vo Pax Viridis 3 by Jonathan Vo Pax Viridis 4 by Jonathan Vo Pax Viridis 6 by Jonathan Vo Pax Viridis 7 by Jonathan Vo Pax Viridis 8 by Jonathan Vo

How to do negative camera tosses:
  1. Everything is physically the same. Continue your usual camera tossing techniques.
  2. Explore your digital camera's settings, specifically the manual mode where it lets you tweak some minor settings. Find a setting where it says "negative" or "invert," it may be near other settings including "sepia," "solarize," and "black and white."
  3. Select that option, and perform your camera toss. However, if for any reason you don't have that negative setting, you can invert your camera toss image on the computer. (Or you can shoot in normal mode, and then invert later and have the best of both worlds.) Photoshop is a popular photo editing software you can use. Depending on the version you have, these steps may be a little bit different. Go to Image > Adjust > Invert.
  4. Have fun and experiment with different original colors. On the other hand, don't expect every inverted camera toss to turn out good. Not all colors can be inverted nicely.

Wednesday, July 11, 2007

Pax Otium

As promised, here's a new and highly improved LCD camera tossing set I took last night. Thanks to some fellow camera tossers, I got several tips on how to do LCD camera tosses. Thus, I discovered the fact that camera tossing can mask itself in a facade of simplicity, but once this activity is probed through different techniques, a whole new world of intricate and complex procedures in revealed.

Pax Otium 1 by Jonathan Vo Pax Otium 2 by Jonathan Vo Pax Otium 3 by Jonathan Vo Pax Otium 4 by Jonathan Vo Pax Otium 5 by Jonathan Vo Pax Otium 6 by Jonathan Vo Pax Otium 7 by Jonathan Vo Pax Otium 8 by Jonathan Vo

Resolution: 2592 x 1944
Subject: LCD screen

This set was a lot harder than I thought. Here's how and why:
  1. To do LCD camera tosses, you need an LCD monitor (I've only tried LCD computer monitors so far, but I assume that LCD TVs will work almost the same way).
  2. Now you need an image to display on the LCD. Some criteria I've found that works best include: mostly black image, few strokes of bright stripes, dots, outlined shapes, the brighter and thinner the lines, the better the camera toss will turn out. You can do this on Microsoft Paint, Photoshop, or you can try to find an image that might fit these criteria. Also, choose colors that you like and think will go good together. Colors tend to mix when doing LCD camera tosses, so always keep that in mind.
  3. Now you need to display this image on your LCD screen. The only colors that should show up are those colored lines. If theres any other color, including white, it will show up on in your camera toss. Optional but suggested - cover up external lights that may be surrounding your LCD screen (computer gadgets, clocks, lighted buttons, etc).
  4. Now that you've got your set up all done, you need to set up your camera. Make sure there's no flash and is on a slow shutter mode. If you are one of the few who are willing to use manual cameras, set these values accordingly.
  5. Here's the hard part - I found that most digital cameras auto-focus and because of the close proximity to the screen, and variable movements of the camera while tossing, the resulting image may come out unfocused. Thanks to mtnrockdhh, a trick you can use is half press the shutter button to set the focus. Once it's focused, you can fully press the shutter button and then release the camera into the air. This will take much practice. Once again, if you are using a camera in which you can manually set the focus, do so, this will eliminate a lot of effort and will increase the rate of a successful image.
  6. Now is the variated part of LCD tossing. You will need to experiment with different throwing styles, whether it's the traditional spin or a hand to hand throw and catch. You will also need to experiment on the distance from your camera to your screen. This particular set was done about 1.5 feet away. The speed of your spin is also another factor. I found that the faster you spin, the more busy and cluttered the image will turn out. The best method was just simply tossing it up with only 1 or 1.5 rotations max. And lastly, you will need to experiment with different images you display on your LCD. Find the combination you are most comfortable with, and your camera tosses will be personally perfect.
Anything unclear? Are your camera tosses not working? Leave a comment or drop an email and I will help you as much as I can. Hope you enjoyed this mini tutorial and camera tossing set!

Monday, July 9, 2007

Midnight Rainbow

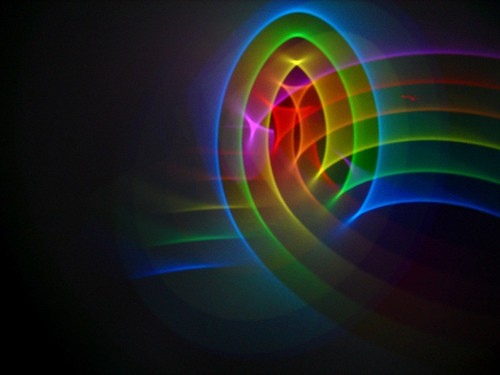
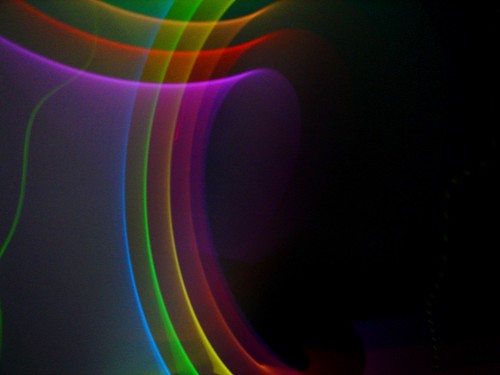
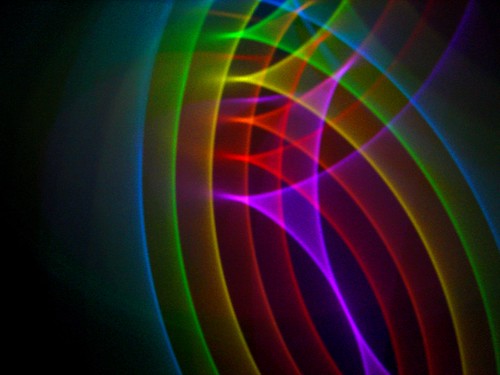
Camera tossing is a very large and wide aspect of photography. Just like normal photography which has sub genres of macros, landscape, HDR, portraits, and so on... camera tossing also has sub genres. Theres TV tossing, daylight tossing, negative tossing, and today, I learned how to do LCD tossing. I must admit, that these first LCD camera tossing sets aren't that great. Because of the close proximity to the LCD itself, it's tricky to get the camera to focus right in the current lighting conditions. Henceforth the out of focus camera tosses below...

Midnight Rainbow 1 Midnight Rainbow 2 Midnight Rainbow 3 Midnight Rainbow 4 Midnight Rainbow 5 Midnight Rainbow 6 Midnight Rainbow 7 Midnight Rainbow 8 Midnight Rainbow 9 Midnight Rainbow 10 Midnight Rainbow 11 Midnight Rainbow 12 Midnight Rainbow 13 Midnight Rainbow 14 Midnight Rainbow 15

So, it's just a matter of practice now! Try it out [at your own risk].

Thursday, July 5, 2007

Monday, July 2, 2007

Untitled Paintings

These camera tosses were made with CD reflections, but this time, I used the negative setting and didn't mess with that slow shutter stuff. Turned out great I think.

Resolution: 2592 x 1944 | Subject: Flashlight and CD

Untitled 2.1 Untitled 2.2 Untitled 2.3 Untitled 2.4 Untitled 2.5 Untitled 2.6 Untitled 2.7 Untitled 2.8 Untitled 2.9 Untitled 2.10 Untitled 2.11 Untitled 2.12 Untitled 2.13 Untitled 2.14 Untitled 2.15 Untitled 2.16